Shader Chopper
Let us make the chopper a bit more colorful. We are not having light calculations yet, but we can make the rectangular cuboids to have a gradient color for example.
This time we will be writing some shaders to do this. Remember, there are two main shaders executed on the GPU:
- Vertex shader – Executed for each vertex. Must transform the position from local space to clip space. This means, we first apply the modelView matrix and then the projection matrix on the local position. It will become more clear in the next topic. For now it will suffice to know that this is the place where the matrix-vector multiplication is done for the transformations.
- Fragment shader – Executed for each rasterized fragment. Must set the color value for the raster. This is the place, where later we will implement different light calculations, for now we will use an interpolated color value.
So, the idea is to have two colors (a light color and a dark color for example). We assign the light color for the first 4 vertices of our rectangular cuboid, and the dark color for the other 4. These colors can be sent to the vertex shader as vertex attributes. Then we can use built-in interpolation to vary between those colors in the fragment shader.
Base codes have more explanation on that.
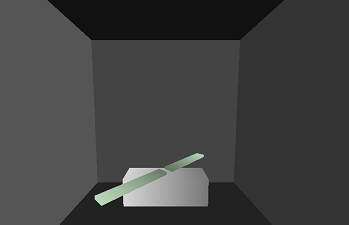
The result can look something like:

Do try to make it so, that the dark faces of the blades are towards each other, and the light faces away from each other.
We strongly recommend using Shader Language extension to get syntax highlighting for GLSL files, among with other useful tools.


